
Gardening for the Future
Seed Drying Tray Systems
H2Ocast Seed Drying Tray Instructions
Thank you for choosing H2Ocast Seed Drying Trays! These reusable trays are designed to gently remove moisture from seeds so they can be replanted or put into storage sooner.
How to Use
-
Spread seeds in a single, even layer on the tray.
-
Drying times vary depending on the seed size, humidity, and moisture content.
-
Begin checking your seeds after approximately 4 hours.
-
Continue drying until the seeds reach your desired dryness.
Using the Weights
-
With a weight: No turning is necessary. Moisture is absorbed from both sides of the tray.
-
Without a weight: Turn your seeds over periodically to promote even drying.
Cleaning & Care
-
Some seeds may naturally discolor or stain the tray.
-
Staining is normal and does not affect the performance of the tray.
-
If desired, use the included sandpaper to gently remove surface discoloration.
Tray Lifespan
-
Handle your trays with care. They are fragile and can crack or break if dropped or bent.
-
With proper care, each tray can be used for many years.
-
Over time, you may notice the tray no longer absorbs moisture as quickly. When the absorption rate noticeably slows, it is time to replace the tray with a new one for the best drying performance.
- Let the tray dry completely before adding more seeds. Place the tray in a sunny window or a fan. Do not use heat.
Tips for Best Results
-
Keep trays on a flat, level surface while drying.
-
Avoid stacking wet seeds too thickly; a single layer dries most evenly.
-
Store trays in a dry location when not in use.
-
For consistent results, check drying progress periodically rather than relying on a specific drying time.
Safety Information and Disclaimers
These trays are NOT food-safe and are NOT intended for any food-related use.
Do not eat seeds after drying on these trays. Do not place food on the trays or use any part of the tray system for food preparation, serving, or consumption.
- Keep trays and all components away from children. This product is not edible.
- Do not eat from the trays
- Children should be supervised at all times when using these trays or handling seeds.
- Keep plastic packaging away from children — it may pose a choking hazard.
- Do not expose the trays to open flame or extreme heat.
- If you experience any adverse reaction after handling the trays, discontinue use immediately and consult a physician. The materials used are generally considered safe for handling when used as directed, but individual sensitivities may very.
If large bubbles or holes are present, lightly sand the imperfection using the enclosed sandpaper.
When sanding, do not inhale tray dust. Work in a well-ventilated area and take appropriate precautions.
- Not dishwasher safe.
- Do not submerge the trays in water.
Save Water With Ollas
Handcrafted Ollas (Pronounced OH-yah) – Ancient Technology for Modern Water-Saving Gardening
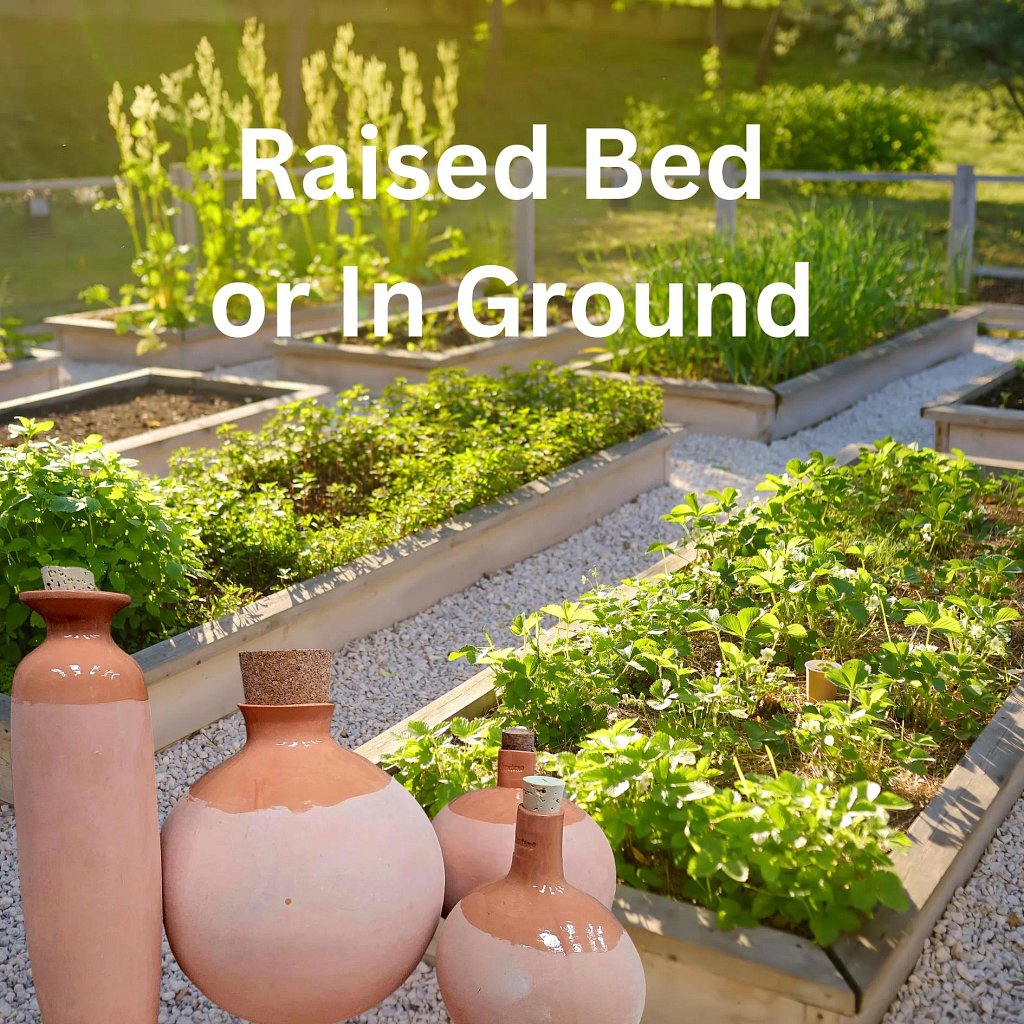
At H₂Ocast, we proudly handcraft a wide variety of high-quality ollas right in our pottery studio. Available in multiple sizes and shapes, our ollas are designed to meet the needs of every gardener — from container growers to those with larger garden beds and landscapes.
- Long ollas — Excellent for plants with deeper root systems such as tomatoes, peppers, and many vegetables.
- Extra-large round ollas — Perfect for small trees, shrubs, and larger plants.
- Small ollas — Ideal for potted plants, herbs, and container gardens.
How Ollas Work
Ollas are one of the oldest and most efficient irrigation methods in the world. To use them, simply bury the olla in the soil up to the neck, then fill it with water. The porous unglazed clay walls allow water to slowly seep out directly into the surrounding soil. Plant roots naturally grow toward the consistent moisture source, drawing water as needed.
This gentle, targeted watering system offers many benefits:
- Dramatically reduces water usage by minimizing evaporation and surface runoff
- Delivers water directly to the root zone where it’s most effective
- Helps maintain consistent soil moisture, reducing plant stress
- Promotes deeper, healthier root growth
- Ideal for drought-prone areas or water-conscious gardeners
Whether you’re growing vegetables, flowers, herbs, or ornamentals, our handcrafted ollas provide a simple, effective, and sustainable way to keep your plants hydrated while saving time and precious water.
------------------------------------------------
How to Use
- Determine the size Olla needed.
- Ollas work better with new seeds or transplants.
- If you are installing an Olla by established bushes or trees bury the Olla at the drip line for best results.
- If you are using in a pot, make sure the Olla is at least 4 inches from the plant stock.
- If you are using a raised bed, make sure the plants are close enough to benefit. If the Olla is too far away the plant roots can't reach it to wrap around and drink.
- Bury the Olla up to the neck and fill it with water
- Check water level regularly
Cleaning & Care
- Never wash with soap
- Do not add fertilizer to the Olla directly
- Do not let freeze. If you live in a colder climate you should dig your up your Olla and protect from hard freezes.
Tray Lifespan
- Each Olla will have a different life span depending on size and environment
- Protect your Ollas from freezing
- Wash off any growth that may attach itself to the Olla.
- Aggressive roots will wrap around an Olla and eventually break it, this is normal. At that point just replace.